In this tutorial, you'll learn how to transform a basic text animation into something extraordinary using Adobe After Effects. We'll cover everything from font morphing to best practices for text animation and adding a stylized hand-painted motion blur effect. There's a lot of new content to explore, so be sure to watch till the end!
1. Morphing Fonts Seamlessly
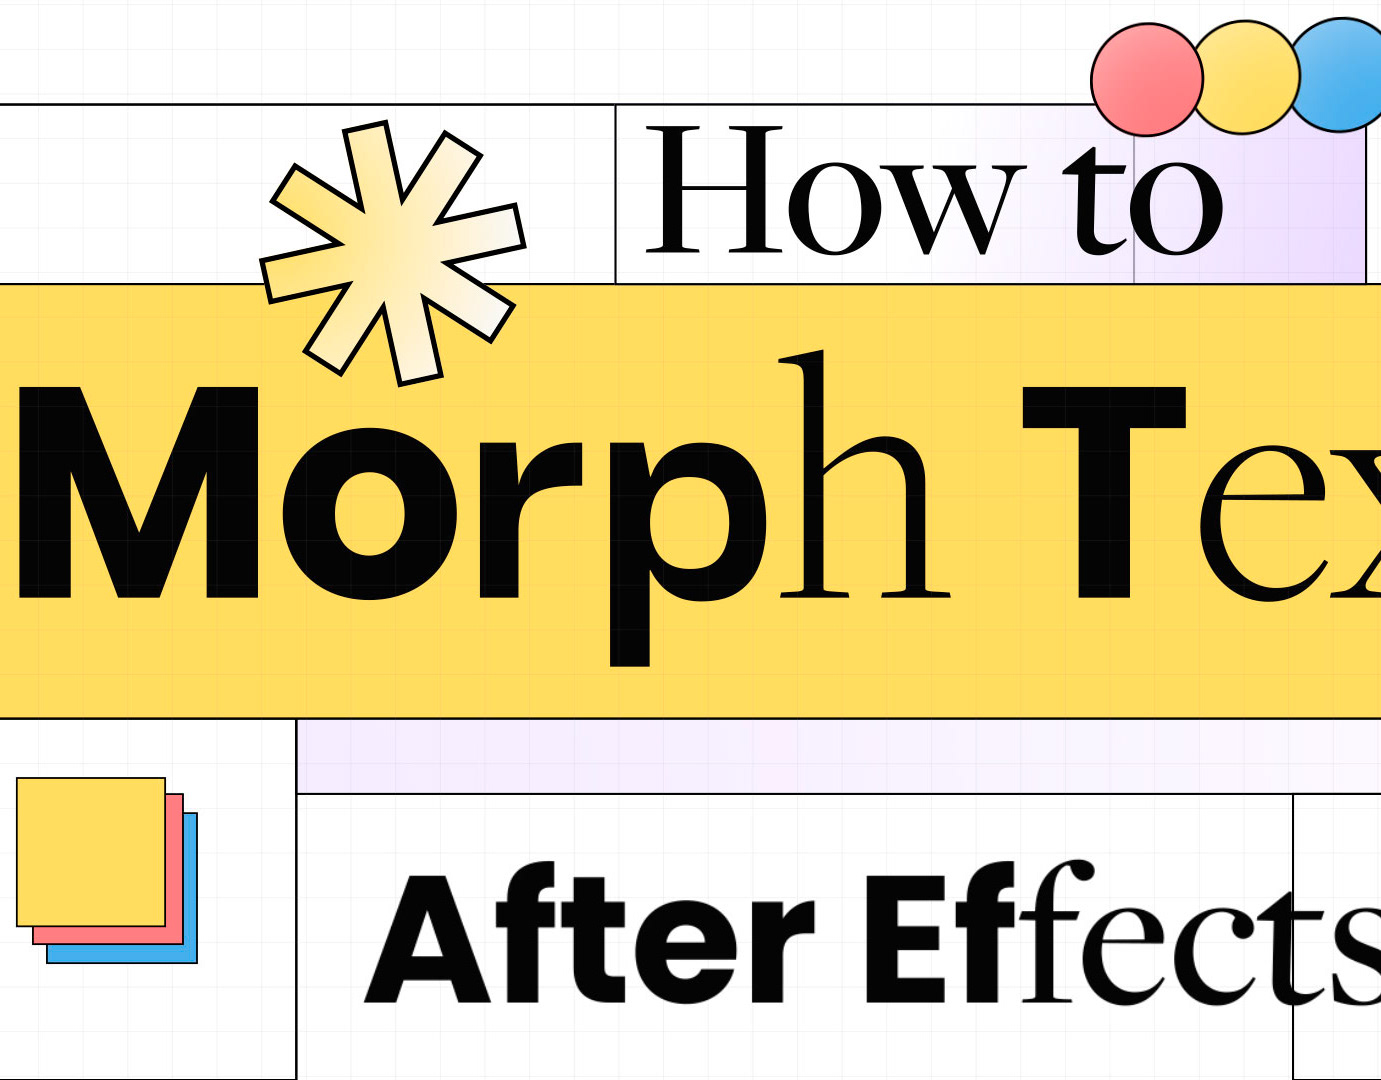
The first technique we’ll cover is how to morph fonts into each other as the text is revealed. This approach involves creating a simple rig that changes all other fonts when you alter one title.
Steps to Morph Fonts:
• Create a text rig where changing one title affects all fonts.
• Adjust the titles and observe the transformation across the text.
• For a detailed guide, refer to my previous tutorial here:
2. Enhancing Animation with Easing Techniques
To improve your text animations, avoid using linear movements. In life, nothing moves linearly; everything accelerates and decelerates. Implementing this concept can significantly enhance your animations.
Steps to Apply Easing:
• Select your text layer and navigate to the position settings.
• Use the Pen Tool to create curves in the animation path, making the movement smoother.
• Adjust the keyframes in the Graph Editor:
• Click on the Easy Ease button to smooth transitions.
• Make the initial and final movements slower by flattening the curves.
• Observe the improved, more natural animation.
3. Adding a Stylized Motion Blur Effect
A stylized motion blur can add character to your text animations. Instead of using the default motion blur, which can render text illegible, we'll create a hand-painted effect that enhances the motion graphics.
Steps to Create a Stylized Motion Blur:
• Precompose your text animation and add a fill effect to change its color to black.
• Duplicate the layer and add a Simple Choker effect to trim the edges.
• Duplicate the first layer again, add the Set Matte effect, and select the Simple Choker layer as the matte.
• Add the Echo effect to create a trailing effect:
• Set the number of echoes to 60.
• Adjust the echo time to -0.003 for closer animation trails.
• Set decay to 0.95 for a natural fade.
• Fine-tune with the Roughen Edges effect:
• Adjust settings like Border, Edge Sharpness, and Scale for a more organic look.
• Add an expression to animate the evolution over time: time*50.
• Experiment with colors and settings to perfect the look.
For detailed instructions, watch the video tutorial where we delve into each technique step-by-step. From font morphing to advanced motion blur effects, you’ll learn how to elevate your text animations to a professional level.
Explore More Tutorials
If you enjoyed this tutorial, check out my other videos, including the morphing text animation tutorial linked at the end of this video. Don't forget to leave a comment if you’re interested in more tutorials on specific effects like the grain background effect showcased in this video.
Thank you for watching, and happy animating!


